
Spring: the perfect season to create!

With the arrival of warmer days, nature awakens and colours return. It is the perfect time to unleash your creativity and bring unique epoxy resin projects to life. Whether you are a beginner or an experienced maker, this season offers endless inspiration: flowers, butterflies, natural patterns, pastel tones, and more.
In this article, we present several creative ideas to help you design decorative objects, jewellery, and accessories made from epoxy resin. You will also find practical advice on choosing the right resin and optimising your creations.
Top 5 epoxy resin creation ideas for spring
1. Floral epoxy trays
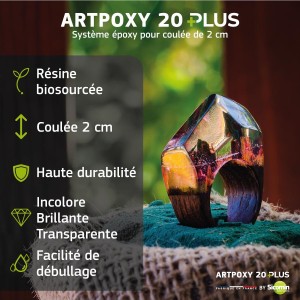
Encapsulating dried flowers in epoxy resin allows you to create elegant, personalised trays that are perfect for serving or decoration. To prevent discolouration or damage to the flowers, it is recommended to use thoroughly dried flowers and seal them with a fixative spray before embedding them in the resin. By choosing ARTPOXY 20 Plus, you will achieve crystal-clear transparency that highlights every floral detail. This type of creation is ideal for adding a fresh, natural spring touch to your interior.

2. Spring-inspired resin jewellery
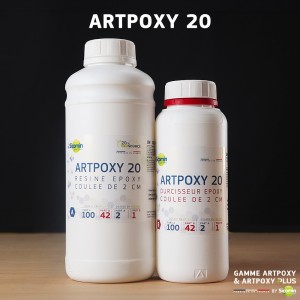
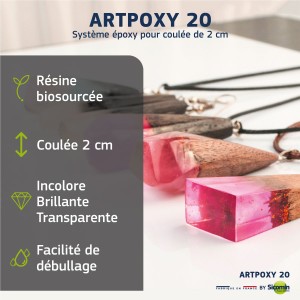
Epoxy resin jewellery is an essential trend, and what could be better than encapsulating natural elements such as flower petals, small leaves, or subtle pastel pigments for a delicate and romantic effect? You can create unique pendants, rings, or earrings by playing with transparency and light. For this type of project, ARTPOXY 20 is recommended, as it offers ideal fluidity for small moulds and ensures a bubble-free finish.

3. Colourful and floral coasters
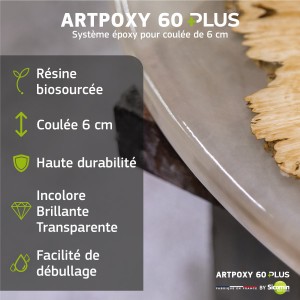
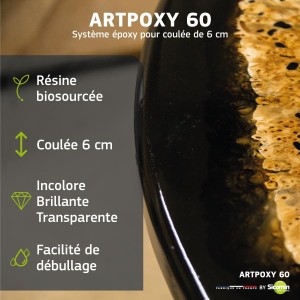
Combining wood and epoxy resin makes it possible to create unique, modern pieces such as river tables, decorative frames, or original lamps. ARTPOXY 60 is particularly suitable for larger-scale projects, as it provides excellent mechanical strength and perfect adhesion to wood. Opt for natural tones or translucent effects for an elegant result that harmonises beautifully with the spring season.

4. Epoxy tables and decorative objects
Epoxy resin jewellery is an essential trend, and what could be better than encapsulating natural elements such as flower petals, small leaves, or subtle pastel pigments for a delicate and romantic effect? You can create unique pendants, rings, or earrings by playing with transparency and light. For this type of project, ARTPOXY 20 is recommended, as it offers ideal fluidity for small moulds and ensures a bubble-free finish.

5. Decorative and artistic castings
If you enjoy decorative objects, epoxy resin castings are a perfect way to express your creativity. Use silicone moulds to create butterflies, leaves, or other nature-inspired motifs. For a unique effect, add glitter, alcohol inks, or fluorescent pigments that react to light. These castings can be used as decorative elements, jewellery, or even personalised keychains.

Technical tips for perfect creations
Choosing the right resin
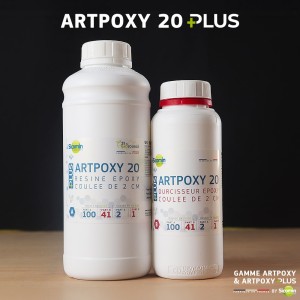
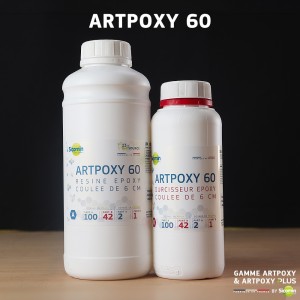
For fine, transparent creations, choose ARTPOXY 20 or ARTPOXY 20 Plus. For thicker, more solid pours, ARTPOXY 60 is preferable. Make sure the selected resin matches the thickness of your project to avoid incomplete curing or cracking.
Flower encapsulation
Ensure that the flowers are completely dried before embedding them in the resin. Using a fixative spray helps preserve their colours and prevents them from becoming translucent after curing. Arrange the flowers carefully to prevent them from floating or shifting during the curing process.
Reducing bubbles
Pour the resin slowly to minimise bubble formation. Mix the components gently without excessive agitation, and use a blowtorch or a gentle heat source to remove surface bubbles. A UV lamp can also help eliminate minor imperfections.
Temperature and optimal conditions
Work in an environment with a temperature between 20 and 25°C to ensure even curing and to avoid curing that is too fast or too slow. Avoid drafts and excessive humidity, as these can affect the curing process.
Demoulding and finishing
Once your creation has fully cured, demould it carefully to avoid breakage. Lightly sand the edges with fine-grit sandpaper to achieve a smooth finish, then apply a coat of varnish or polish for a glossy, professional result.
So, what will your first project be?


