Using epoxy resin offers a wide range of creative possibilities, from creating works of art to producing floor coatings and furniture. One of the most common challenges during application is avoiding the formation of unwanted air bubbles. These bubbles can compromise the appearance and quality of the final piece. Fortunately, there are several techniques and tips that help prevent these bubbles and achieve a smooth, flawless finish. In this article, we present some practical advice to avoid air bubbles in epoxy resin during pouring or lamination.
Whether you are a passionate artist or an experienced DIYer, these tips will help you achieve a professional-quality result. Follow our guide to eliminate air bubbles in your epoxy pour!
Yes, it adheres very well to wood. However, it is recommended to thoroughly dry and, if necessary, pre-seal the wood before pouring to prevent air bubbles.
The polymerization reaction of epoxy resin is exothermic, meaning it releases heat. This heat is significant, as the most reactive systems can reach temperatures above 200 °C. If the temperature rise is too high, deformation or yellowing of the part may occur. To ensure an optimal result, it is necessary to select the hardener reactivity according to the size of your project.
Exothermic behavior depends on several factors:
The most important factor is the mass of the pour. The larger the mixed quantity, the faster the polymerization reaction and the more intense the temperature increase. If a large amount of mixture remains, divide it into several containers to limit the rise in temperature.
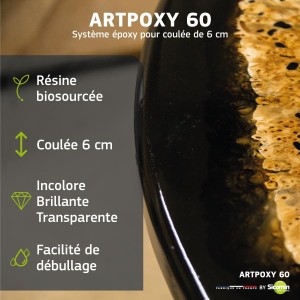
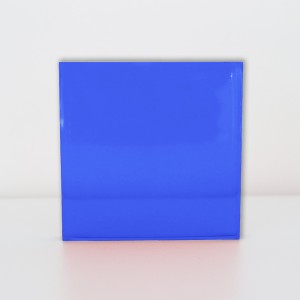
The application areas and properties of the systems are different. For example, the standard range systems contain few UV stabilizers and may yellow over time. They should mainly be used for colored castings.
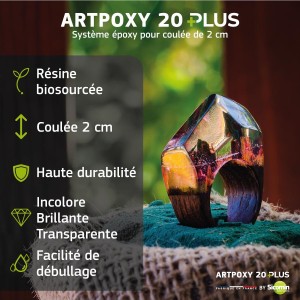
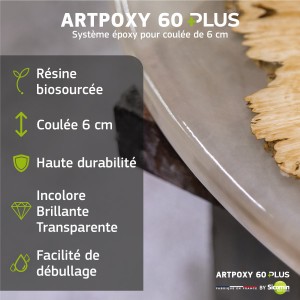
On the other hand, the PLUS range systems are ideal for achieving a clearer and more transparent result in your castings.
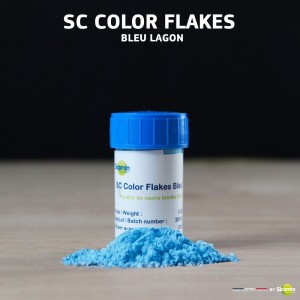
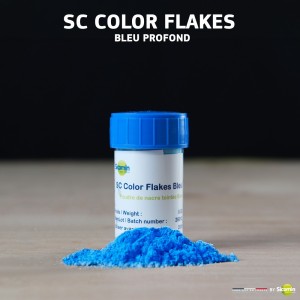
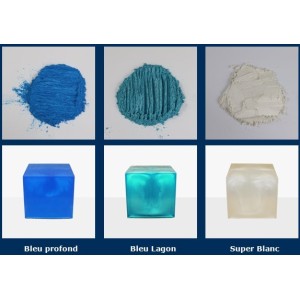
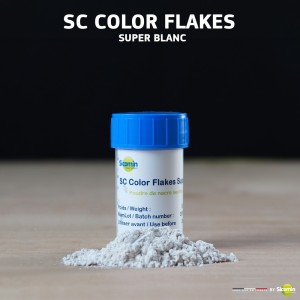
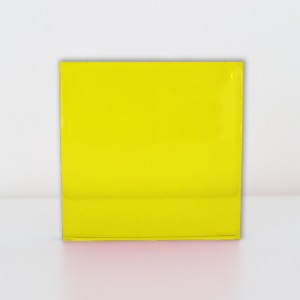
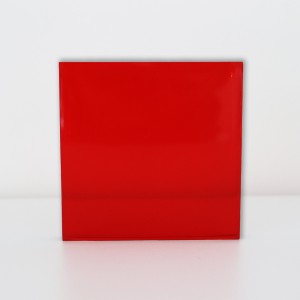
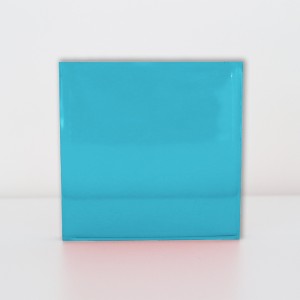
You can bring your epoxy resin creations to life with vibrant and unique colors thanks to our SC Clear Color pigments.
To add color to your epoxy resin, do so once your mixture is ready. The amount depends on the shade you want to achieve, but always start with a small quantity, as it is easier to add pigment than to remove it.
Mix the pigments into the epoxy resin using a mixing stick until the color is uniform. If you want a darker shade, add more pigment in small amounts, mixing thoroughly each time.
Keep in mind that colors may appear lighter or darker depending on the thickness of your pour, and that the pearlescent effect of glitter can vary. It is therefore important to carry out tests with small quantities before starting your final project.
No, always use the resin and the hardener from the same system only. Our formulations are designed to be mixed together. If you do not use matching systems, you risk ruining both your mixture and your project.
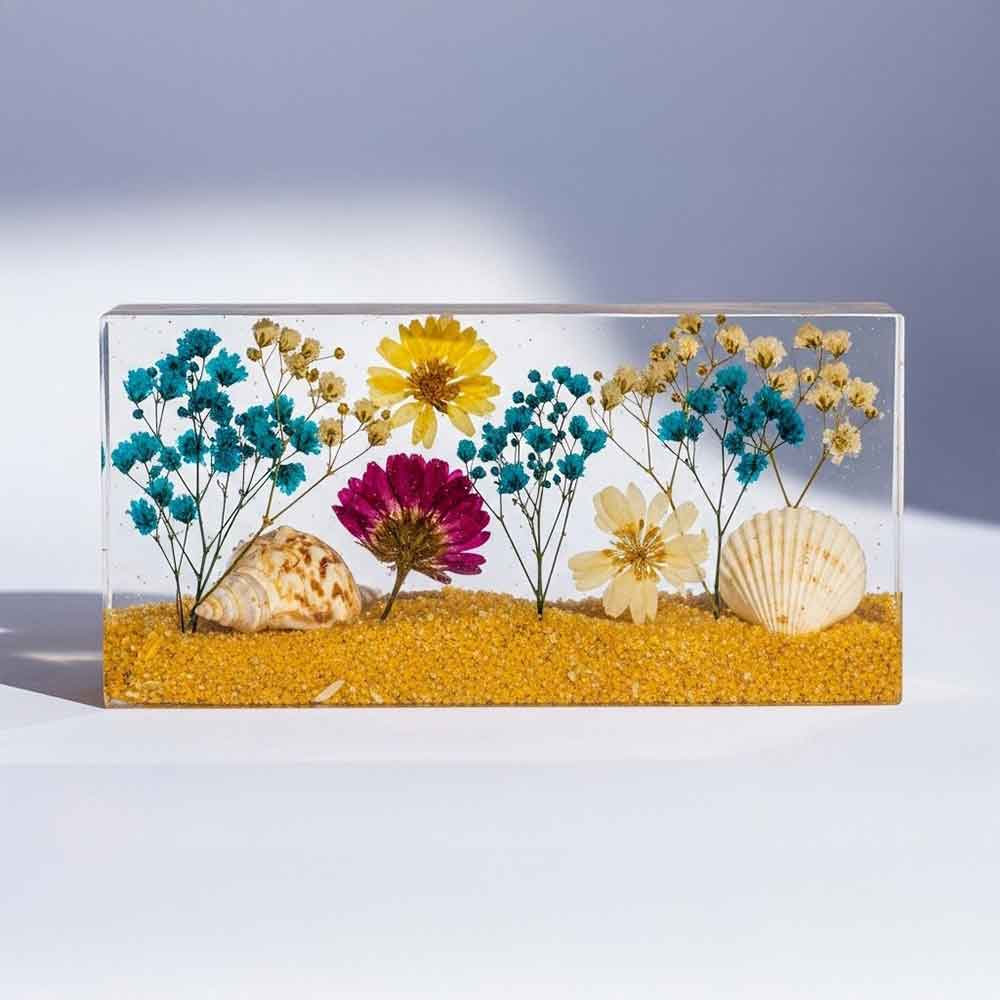
A casting epoxy resin is a resin formulated to be poured in thick layers, offering excellent transparency, low exothermic reaction, and uniform curing. It is ideal for river tables, decorative objects, inclusions, and mold casting.
Casting resin is designed for thick pours and transparency, while laminating resin is intended for impregnating fabrics (glass, carbon, etc.) in thin layers. They are not interchangeable.
It depends on the resin formulation. Some are designed for thin pours, while others allow thick pours reaching several centimeters per layer. It is essential to always follow the manufacturer’s recommendations.
At Sicomin, we offer two systems suited to all types of projects:
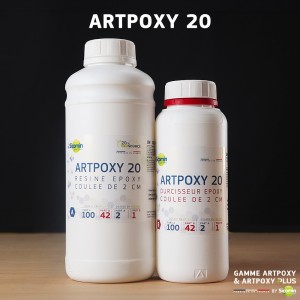
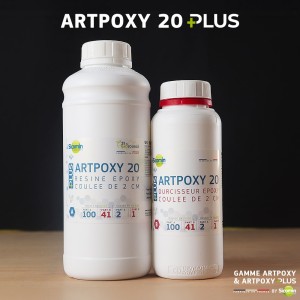
ARTPOXY 20 & ARTPOXY 20 PLUS: ideal for creating decorative objects and thin pours, up to 2 cm thick.
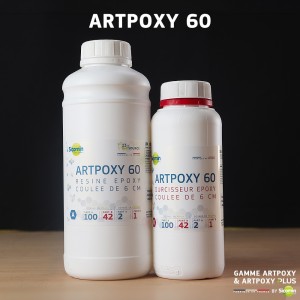
ARTPOXY 60 & ARTPOXY 60 PLUS: specially designed for river tables and thick pours, up to 6 cm thick.
Yes, if the resin is designed for mass casting. Otherwise, it is preferable to work in several layers to avoid overheating, bubbles, or cracking.
If you are unsure about choosing the system best suited to your project, do not hesitate to contact us so that we can provide the best solution for your needs.
 Guides & Tips
 Your achievements