
Epoxy resin is an ideal material for trying out DIY projects. It allows you to bring your creativity to life and create original, one-of-a-kind pieces. Epoxy resin is also perfect for making jewelry: it is versatile, easy to customize, and above all, you can give it any shape you want—a dream material for both professional and amateur designers. Today, we invite you to create your own pendant using epoxy resin. Just follow our tutorial.
Materials
-
A piece of wood
-
Casting epoxy resin
-
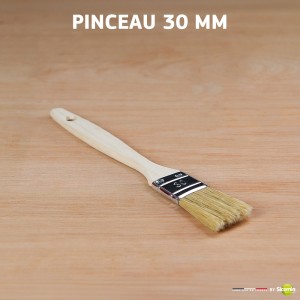
A paintbrush
-
Wooden mixing sticks
-
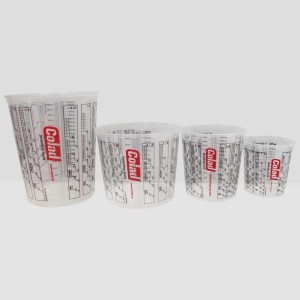
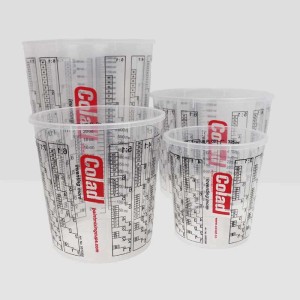
2 graduated mixing cups
-
A silicone mold of your choice
-
Color pigments
-
Heat gun
-
A Dremel-type drill
-
Sandpaper
-
Mold release agent
-
A metal chain
Step 1: Preparation
The first thing to do is place your piece of wood into the silicone mold you want to use. We recommend applying a mold release agent afterward to make demolding easier later on. Let it dry.
Next, prepare your work surface so you can work in good conditions.
Step 2: Mixing the resin
Start by making sure you have carefully read and understood the manufacturer’s instructions provided on your resin packaging. This is essential to know the correct mixing ratio for the two components.
Our products are sold in kits (1 container of resin and 1 container of hardener). These kits are designed so you can mix the full contents of both containers without having to calculate ratios.
Take your graduated cups and pour the required amount of resin into one of them. Depending on the size of your molds, you will need more or less resin.
Next, measure exactly the same amount of hardener. Be as precise as possible. Too much or too little hardener can result in a soft or sticky finish.
Use a wooden stick to thoroughly mix the two components together. Be sure to scrape the sides to release any resin sticking to the container. Mix for two to three minutes.
Pour the mixture into your second cup and continue mixing with a new, clean stick. This is called the double-mixing method and ensures a perfectly homogeneous blend.
Now add the color pigments of your choice and mix again.
Step 3: Pouring the resin
Take your mold and your piece of wood, making sure the wood is properly positioned inside the mold.
Slowly pour the resin into the mold. You can hold the piece of wood in place using gloves or a clean wooden stick.
Let the resin rest for a few minutes—small bubbles should rise to the surface.
Use your heat gun and quickly pass it over the pendant. Be careful not to melt the mold; move quickly and do not linger in one spot.
Allow the resin to cure for 48 to 72 hours, depending on the room temperature and the thickness of the casting. You can check if your pendant is hard after two days.
Step 4: Sanding your pendant
Once your pendants are cured, remove them from the molds and prepare your sanding tool.
Be sure to wear safety goggles and a dust mask. Start by roughly sanding the wood so it is approximately the same size as the resin. Note that the thinner the piece of wood you use, the less sanding will be required.
Once the wood is roughly shaped, switch to a finer sandpaper and refine the shape of your pendant. Take your time to remove scratches and imperfections—it’s worth it to achieve a smooth finish.
Use your drill to make a hole in the resin so you can attach the chain.
Step 5: Finishing
Finally, coat both sides of the pendants with a thin layer of epoxy resin. This will give them a beautiful, glossy, and clear finish. Do not apply too much resin, and once again allow it to cure completely.
And that’s it! You’ll end up with a beautiful pendant combining wood and resin, with a glossy finish. A 100% unique creation, customizable endlessly!


