

Varnishing a painting with epoxy resin enhances colors and gives it a beautiful glossy finish. A transparent resin layer also provides additional protection against wear, dust, and scratches. The process requires patience, preparation, and care, but the result is well worth it. Follow our guide to learn how to properly varnish a painting with epoxy resin.
Materials
-
A painting to varnish
-
Clear epoxy casting resin
-
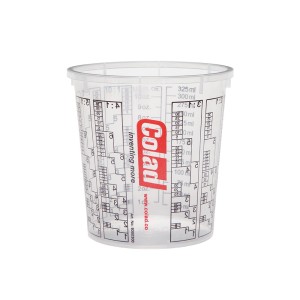
Several disposable mixing cups
-
Wooden mixing sticks
-
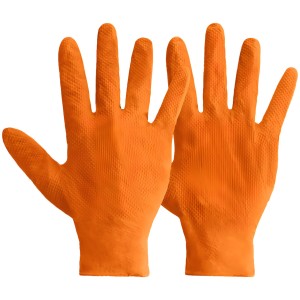
Gloves
-
Heat gun
-
Electric sander
-
A box or similar object to cover the artwork while the resin cures
Step 1: Prepare Your Workspace
Before anything else, you need to prepare your workspace. When using epoxy resin, make sure to work in a well-ventilated area. You should also choose a clean, low-dust environment, as dust particles can settle into the resin during curing.
Wipe down the surface where you will be working. Protect the table or floor underneath. If you are applying resin to a large surface, it is advisable to cover both the table and the floor using a plastic sheet or a large trash bag.
Step 2: Prepare Your Painting
Make sure there is no dust or hair on your painting before starting by wiping it with a cloth dampened with acetone or household alcohol.
If the surface you are coating is porous or highly absorbent, it must be sealed beforehand. Paper or cardboard surfaces must always be sealed before applying epoxy resin. To seal the surface, apply a thin layer of resin and allow it to cure before proceeding to the next step.
If you plan to apply a thick layer of resin, create a barrier around the edges of the painting using painter’s masking tape.
Step 3: Mix the Resin
Before mixing your resin, determine the quantity needed to cover the entire surface of your painting.
Measure equal parts of resin and hardener into two separate cups. Then pour both components into a third container for mixing.
Mix the resin and hardener thoroughly, scraping the sides and bottom of the container with a wooden stick. Mix for 3 to 5 minutes.
Use resin at room temperature to reduce bubble formation. If the resin is too cold, it may be too thick to pour and spread properly. Cold resin can also appear cloudy or milky instead of clear.
Step 4: Pour the Resin
Pour the resin evenly over the surface and spread it all the way to the edges. You can do this by hand while wearing gloves or using a wooden stick.
You may also use an old business card to help spread the resin evenly across the painting.
Step 5: Remove Air Bubbles
A few minutes after spreading the resin, you will see air bubbles rising to the surface. To remove them, it is best to use a heat gun.
Hold the heat gun about 20 cm (8 inches) above the surface and keep it moving at all times.
Use a low heat setting and gently sweep across the surface until all bubbles are eliminated.
Before moving on to the next step, take time to inspect your artwork under good lighting. Dust particles or hairs can still be removed at this stage.
Check the surface for 1 to 2 hours after pouring the resin to ensure that no new bubbles appear.
Step 6: Curing
Cover your painting with a box to protect it from dust.
After applying the resin, allow it to cure for 24 to 72 hours. Depending on the size of the artwork and the thickness of the resin layer, curing time may vary.
Step 7: Finishing the Edges
If you poured the resin without overflow, you normally won’t need to worry about edge finishing.
For a professional-looking edge, you can use an electric sander. Once sanded, you may also choose to paint the edges to add an extra touch of color to your artwork.
And that’s it—you now know how to varnish a painting with epoxy resin. There’s nothing overly complicated about the process; it simply requires patience and careful attention to each step to achieve a clean, glossy, and professional finish.


