Tutorial proposed by P. Tellier (Belgium)
Here is how I made the decorations of my aquariums.
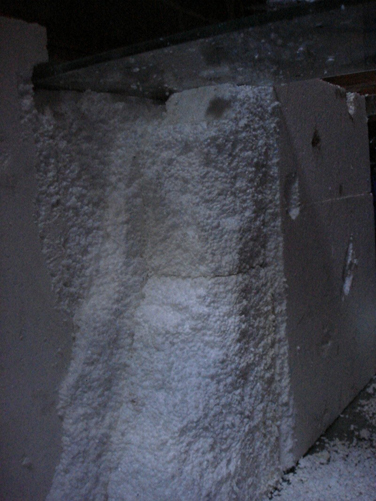
For the realization of these decorations, I used expanded polystyrene, a material very easy to find in any DIY store in the insulation section.
It is proposed in the form of plates of various thicknesses and dimensions. It is advisable to choose the greatest thickness, in order to give a maximum of relief to the decoration. In "DIY", we unfortunately rarely exceed 3 centimeters of thickness, in professional material we can however find thicknesses of 10 cm, however unless you know a professional who uses it, it is not obvious to get it by the piece.
To obtain greater thicknesses, it is possible to superimpose several layers.
To begin, you must cut the different plates and adjust them (allow a little "play" because once resinated you must be able to replace them without forcing).
Present the elements that you want to incorporate and draw their contours.
Do not forget to allow for any overflow.
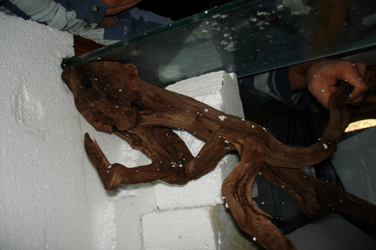
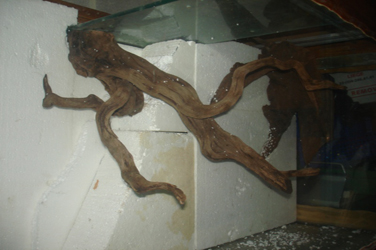
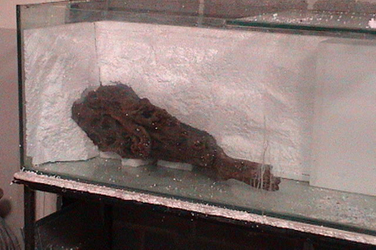
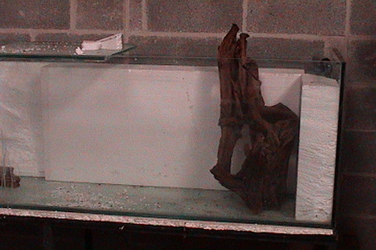
Dig the polystyrene according to the contours in order to incorporate these different elements (roots, stone...).
Start to dig the foam to model the decoration according to the result you want to obtain.
For this you can use different tools such as cutter, knife, iron brush or even your fingers.
Polystyrene makes dust and sticks electrostatically on everything that passes!
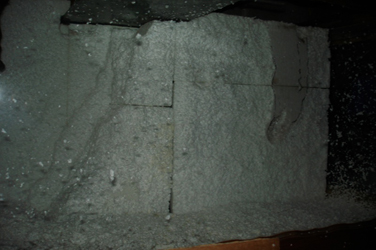
Once sculpted, the polystyrene is heated to harden its surface. For this we use a heat gun, a gas burner or any other heat source (candle...). Be careful, polystyrene melts very quickly and releases toxic fumes, so it must be done with care and in a well ventilated room.
Once the surface is hardened, we can proceed to the resin coating.
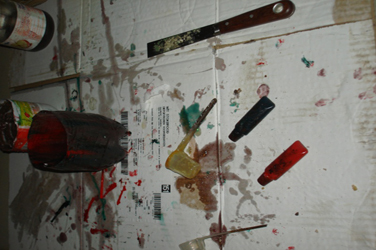
Precautions: resin is sticky and irrecoverable, so it is advisable to use adequate protections: protection of the support, work clothes, disposable latex gloves.
Some resins can be cleaned with acetone.
The necessary equipment is as follows: brushes (cheap because they will be rendered unusable), latex gloves, measuring spoons (here I used measuring spoons for powdered milk), a measuring spoon for the resin and one for the hardener!
glazier's knife, dyes, the bottom of a plastic bottle to prepare the resin and a piece of wood (or other) to mix the 2 components.
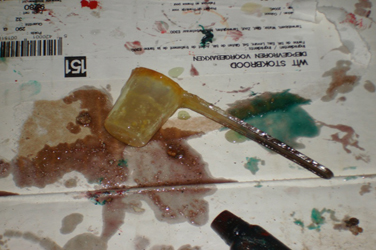

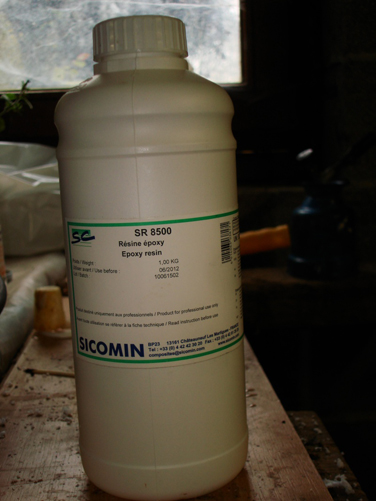
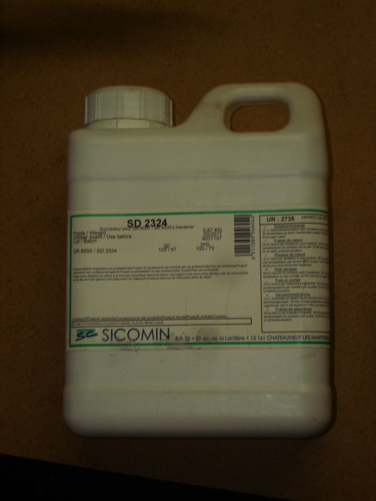
Start by mixing SR 8500 resin with SD 2324 hardener.
Since curing occurs in a relatively short time, it is best to mix only small amounts at a time.
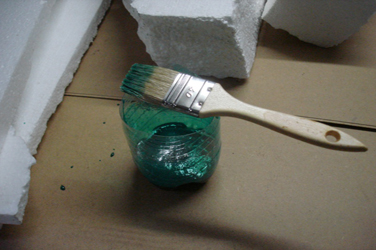
I recommend adding a little dye to the mix so that you can see the resin areas clearly and do not miss any.
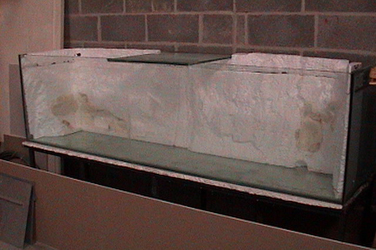
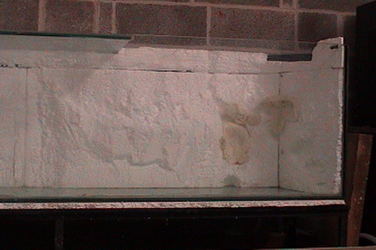
We start by applying 3 coats of resin on the back and sides of the back plates (those in contact with the rear window).
For the application of the different layers, 2 solutions are possible:
Application of the layers "dry": we wait for the complete drying of a layer before applying the next one, it is then advisable to sand the hardened layer in order to facilitate the clinging of the next one. This is long (24 hours between 2 coats at 20°C) and not practical given the numerous roughnesses created in the decor.
Application of "wet" coats: the coats are applied successively without waiting for them to harden, the next coat must be applied while those just applied still stick to the touch. This allows you to avoid waiting too long and does not require sanding. However, for a complete set, you must be available all day. (+/- 2 hours between each layer).
The application is done with a brush.
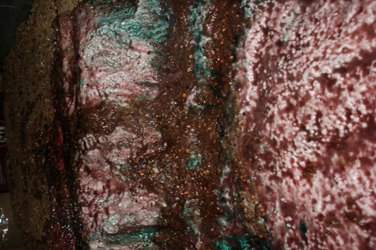
Apply thin coats and rework the resin as if it were paint to prevent it from dripping and filling in the hollows you have shaped. ( Darker color on the pictures ). Otherwise you will get a decoration without relief.
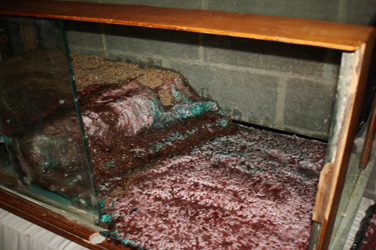
Once the back sides are dry, they can be placed and glued to the bottom of the aquarium using "aquarium" silicone.
If, to obtain the desired thickness, several plates must be superimposed, they can be glued together with the resin. A layer of resin is applied on the sides to be glued, and a second one before it is dry. We then apply the 2 plates one on the other.
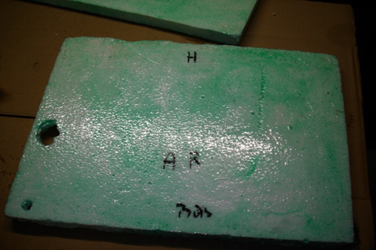
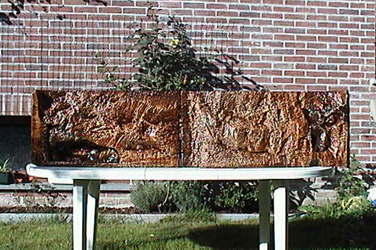
Once the plates are glued in the aquarium, we apply 2 coats of resin on the whole surface, not forgetting any edge.
In order to identify the resinated areas, we mix colorant in different proportions. I used green and red dye which when mixed together give a darker or darker brown color, adding yellow dye should give an ochre color.

After the second layer, I fill the joints between the plates with a mortar made of resin and Rhine sand, which I apply with the glazier's knife.
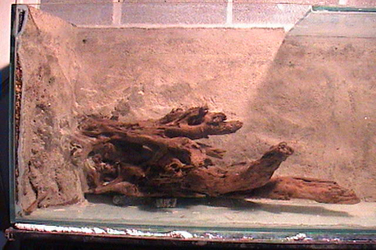
If roots or stones are to be incorporated, they are put in place after the second layer, glued with silicone and the connection with the decor is filled with the same mortar.
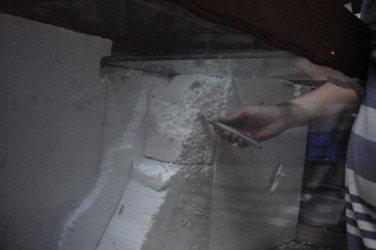
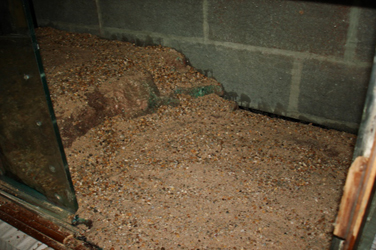
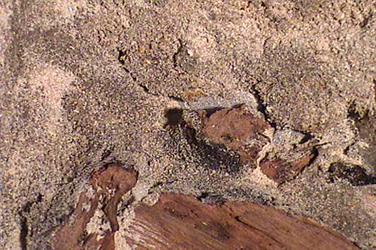
Then apply the 3rd layer and cover it directly with rinsed and dried sand.
Let it dry completely and collect your sand by brushing or vacuuming with a new bag (which allows you to reuse the sand later).
If you notice that the sand does not adhere to certain areas, apply a new layer of resin and cover it again with sand.
Allow your decor to dry for one week to fully cure.
The aquarium is then rinsed thoroughly several times to remove all chemical residue.
The floor can then be installed and the aquarium filled permanently.
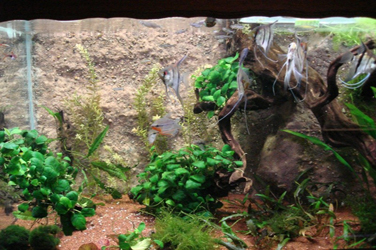
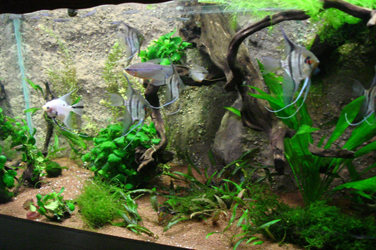
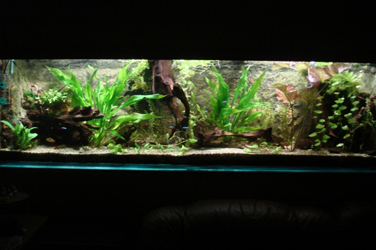
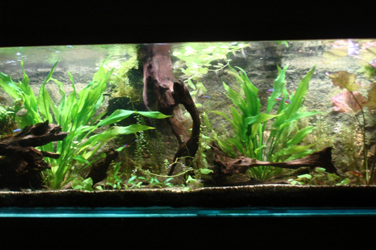
Here is the result once under water.
The decoration masking here an internal decanter, the effect of relief is even more marked.
Some pictures of the realization of the decoration of my 600 L.
Pour ce décor, j'avais comblé les interstices au silicone, le résultat est moins bon car le sable n' adhère pas aussi bien.
Pour ce décor de 1.20 m j'ai utilisé +/- 2 kg de résine ( 3.5 kg pour le décor du 600 L. de 2 mètres).


