Decorative letters have become essential elements of event décor. Whether for a wedding, a birthday, or a corporate event, these personalized letters help make a strong impression, enhance a space, and convey a powerful message. With epoxy resin, it is now possible to create your own unique, glossy, strong, and endlessly customizable letters or numbers. Here is a complete guide to making beautiful decorative letters to place or hang.
Why choose epoxy resin for your decorative letters?
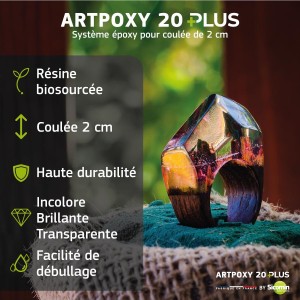
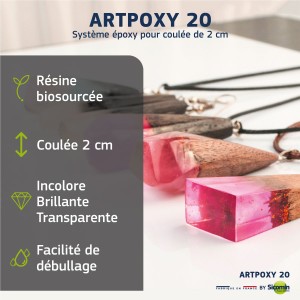
Epoxy resin is a material of choice for high-end DIY projects. It stands out for its crystal-clear transparency, strength, and ability to highlight any type of inclusion: glitter, dried flowers, gold leaf, LEDs, pearlescent pigments, sand, beads, shells, and more.
Unlike wood or plastic, resin offers a smooth, glossy, and durable finish that resists humidity and time. Resin letters can therefore be used both indoors and outdoors (with a suitable protective varnish), as table centerpieces, wall décor, or on a ceremony arch.
Materials needed to make your letters or numbers
-
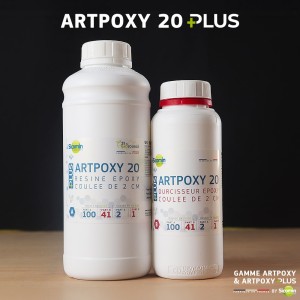
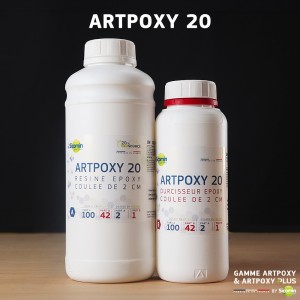
Casting epoxy resin (ideal for molds with a depth of 2 to 5 cm)
-
Hardener (usually supplied with the resin)
-
Silicone molds in the shape of letters or numbers
-
Mixing cups (plastic or silicone)
-
Spatulas or mixing sticks
-
Precision scale for weighing components
-
Gloves, mask, surface protection
-
Decorative inclusions: flowers, glitter, pigments, pearlescent powders, LEDs, etc.
-
Optional: a small drill if you wish to mount or hang the letters
Step-by-step manufacturing process
1. Prepare your workspace
Working with resin requires a certain level of organization. Set up in a well-ventilated area, protected from dust, on a flat surface. Protect your work surface with a tarp or plastic sheet, and wear gloves and a mask.
2. Choose your molds and inclusions
Silicone molds shaped as letters or numbers are widely available. Choose molds with sufficient thickness to allow visible inclusions and a good 3D effect. Before pouring the resin, place the decorative elements at the bottom of the mold.
3. Prepare the resin
Carefully follow the manufacturer’s instructions to measure and mix the resin and hardener. The ratio is generally 1:1 or 2:1. Mix slowly but thoroughly for at least 3 minutes.
You can then color the resin with pigments, pearlescent powders, or inks, or keep it transparent depending on the desired result.
4. Pour the resin into the molds
Carefully pour the resin into the prepared molds. If you want to create multiple layers or effects, you can work in two stages: a first transparent layer with inclusions, followed by a second colored layer. Remove air bubbles using a lighter or a heat gun held at a safe distance.
5. Allow to cure
Curing time varies depending on the resin used, generally between 24 and 72 hours. Let the pieces rest in a dust-free environment, then carefully demold them.
6. Add the finishing touches
Add varnish, wall mounts, hooks, or non-slip pads depending on the intended use.
Personalization ideas by event type
Weddings
Initials of the couple, the word “LOVE,” “MR & MRS,” the wedding date… Add flowers from the bouquet, sand from the venue, or colors matching the theme.
Birthdays
Age numbers, first name, colorful glitter, mini candies, laminated photos, or mini LEDs for a luminous effect.
Corporate and professional events
Brand initials, hashtag, anniversary date, corporate elements (logo, colors, miniature objects). Perfect for booths, photos, and distinctive visual displays.
Tips to go further
-
Galaxy or marble effect: mix several colors in a circular motion for a dynamic look
-
Full glitter effect: sprinkle glitter between two resin layers for uniform sparkle
-
Adding LEDs: embed a light string or attach it to the back to illuminate the letters
-
Multifunction letter: add a clip, small tray, or name holder inside the letter
Where to buy your resin and accessories?
To successfully complete decorative DIY projects, material quality is essential. La boutique résine epoxy offers a reliable selection of clear, colored, or effect epoxy resins, as well as suitable molds, pigments, and accessories.
You will also find advice, tutorials, and responsive customer support to help you with your creations.
Conclusion
Creating decorative letters with epoxy resin is an elegant and creative way to personalize your events. This type of decoration combines originality, shine, and longevity while offering great artistic freedom.
Whether you are a beginner or experienced, choosing the right resin, molds, and decorative elements is all it takes to bring unique letters to life—full of meaning and beauty.


