The fuselage is made of fiberglass E and Epoxy resin SICOMIN,, SR 8200 / SD 7203 as well as the white epoxy gelcoat SG 715 / SD 802.
Products:
For reasons of cost and especially because there is no need for it we avoid as much as possible "precious" fabrics like carbon.
Fiberglass will be used mainly for the fuselage molding and some glass/carbon reinforcements on the tail and wing karmans.
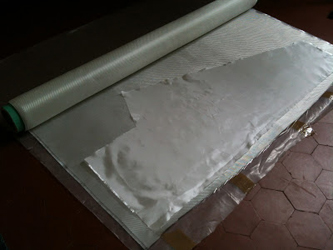
The fabrics are 106 and 300 g/m2 taffetas.
The fabrics will be arranged as shown on the draping plan below.
For reasons of ease of installation and handling of the fabrics given the length of the fuselage, I cut them in the width of the roll.
A 45° cut in the roll would increase the torsional rigidity of the fuselage but it will already be rigid enough.
This makes it easier to cut and place in the mold.
The fabrics are overlapped by 5 cm at each joint, this forms a much stiffer hoop than the rest of the fuselage in these areas, which improves the strength of the fuselage.
of the fuselage.
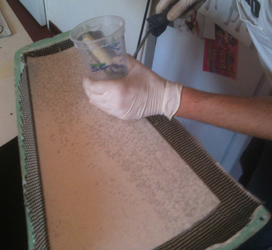
Fabrics prepared before lamination: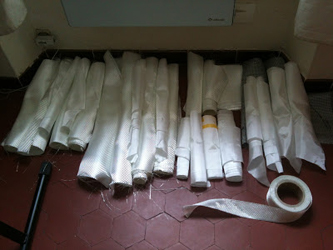
Casting.
-The gelcoat is rolled on, in 3 coats to cover a bit, as soon as the first coat starts to be amorous (almost not sticking to the fingers anymore).
Our timing :.
First coat at 8pm, second at 1am and 3rd at 6am to be able to laminate at 10:30am.
The goal is not to have a perfectly white surface since it is not the top coat, the gliders will be fully painted.
But to have a clean base and especially to avoid micro bubbles on the surface.
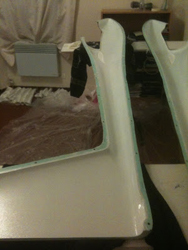
The gelcoated half-molds
-The first step is to put fiberglass wick in the corners of the canopy and karmans, this in order to avoid bubbles and to strengthen the cell by playing on the rigid angle formed at this place.
the cell by playing on the rigid angle formed at this place, only the resine charged silica + fiber cut could be used but more brittle and less rigid.
Then the first layer put in the mold is a 106 g/m2 taffeta. A thin fabric is always preferable for the first layer to avoid marking the fibers through the gelcoat.
through the gelcoat. ( Sorry no picture, we will make one when we mold the second fuselage)
Then a 160 g/m2 Carbon/Glass is put in the drift followed by a 2 mm thick polystirene and another 100 g/m2 taffeta to close the sandwich.
The tailplane must be very rigid because it supports the stabilizer and important constraints but also the lightest possible not to load too much
the rear of the fuselage to facilitate the centering.
The advantage of polystyrene is that it does not need to be vacuum formed to fit the shapes even with a large radius of curvature, here it is almost flat and
lay down by itself. The sandwich is less rigid than with a PVC foam (Airex) but very easy to implement and still providing great rigidity for a
minimum weight.
-Then we lay a 300 g/m2 twill on the whole fuselage surface, then another one from the nose to 20 cm behind the karmans.
to the back.
There is also a carbon/glass reinforcement on the Karmans.
Remi tastes for the first time the stratification in a mold:
"No Remi!!! I saw you were going to put resin back!!! pull the resin all the way out!!!!! otherwise the fuselage will be 5 kg :) "
2 days later: Remi: "Look at the pictures you put on the site, there is one where I stratum so fast that the roll is blurred."
Ok Remi!!! pooh pooh pooh pooh!!! :) :)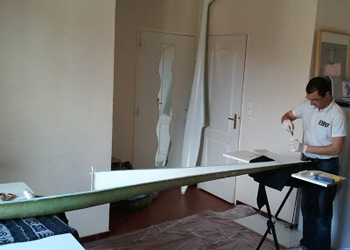
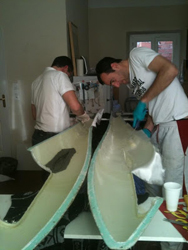
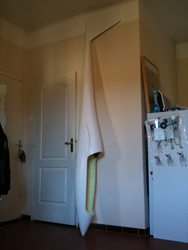
Not easy a so big mold in an apartment. After having moved everything in the room next door and having stained the floor we manage.
Mould closed! It remains the long waiting before unmolding. A good 48 hours.
For the verdict rigidity weight! we should be in the 2,5 kgs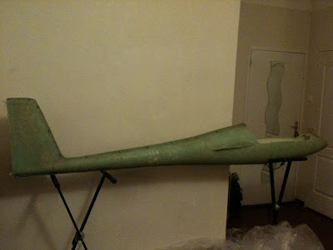
Demoulding:
Open the first half mold! 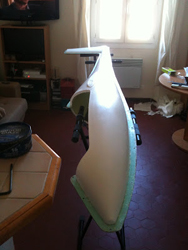
Then a second one, and a small blow on the parting line to fix the gelcoat.
Good rigidity everywhere as we wanted, neither too soft nor too rigid.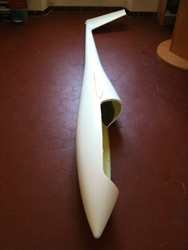
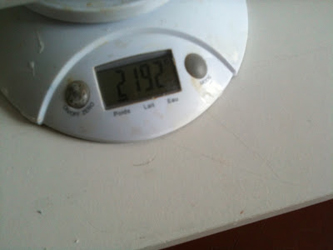
And the verdict of the scale so much awaited: 2.489 kg just under the mass of 2.5 kg that it was fixed!!! That's good !!!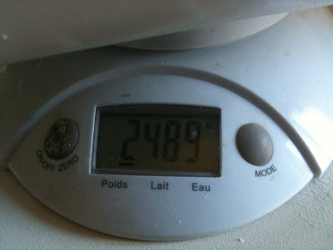
the continuation for the second fuselage and the rest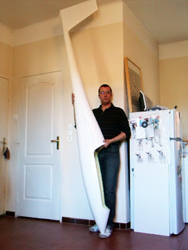
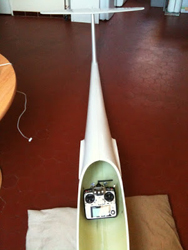

The second fuselage is out of the mold!
And surprise it is 297 grs lighter for the same layup used.