Combining epoxy resin with natural elements allows you to create decorative objects that are durable, beautiful, and unique. Among the most popular trends are resin terrariums featuring preserved plants, decorative moss, or dried flowers. Unlike living terrariums, these creations are frozen in time, require no maintenance, and retain their vibrancy over the long term. Here are the steps and tips to successfully craft your plant-based resin decorations.
Why Use Preserved or Dried Plants in Resin?
Integrating plants into resin requires specimens that release neither moisture nor gases, which could create bubbles or mold. Preserved plants and dried flowers are ideal: they retain their original shape and color while being completely dry.
These botanicals are often used to:
-
Create decorative spheres with an encapsulated flower or moss
-
Make cubes or pyramids to display on a desk or shelf
-
Design functional objects (coasters, paperweights, jewelry) with a botanical touch
Required Materials
-
Transparent epoxy resin (casting resin suitable for inclusions)
-
Compatible hardener
-
Silicone molds (spherical, cubic, or other shapes)
-
Dried flowers, preserved moss, foliage
-
Tweezers or wooden sticks for positioning
-
Gloves, precision scale, and a protected workspace
Steps to Create a Decorative Resin Terrarium
1. Prepare the Plants
Ensure your plants are completely dry. If in doubt, leave them in a dry, ventilated area for a few more days. For preserved moss, avoid pieces that are too thick or damp.
2. Choose and Prepare the Mold
Use a clean, dry silicone mold. Spherical or cubic shapes are most common for this type of project. You can also use an open mold in two pour stages to better position the plants.
3. Mix the Resin
Follow the exact ratios indicated by the manufacturer (usually 2:1 or 1:1 depending on the product). Mix slowly to prevent bubbles until the resin is homogeneous.
4. Make the First Pour
Pour a thin base layer of resin into the bottom of the mold. This creates a clear foundation. Let it sit for a few minutes to release any trapped air bubbles.
5. Position the Plants
Use tweezers to carefully place the plants. Take your time to arrange them precisely, as the resin will freeze their orientation. You can add a bit of resin to stabilize them if necessary.
6. Complete the Pour
Pour the remaining resin in one or several stages if needed. Prefer thin layers to avoid overheating and internal bubbles. Allow to cure according to the recommended time (usually 24–48 hours).
7. Demold and Sand
Once fully cured, gently remove your piece from the mold. If necessary, lightly sand the edges for a clean, professional finish.
Tips for an Optimal Finish
-
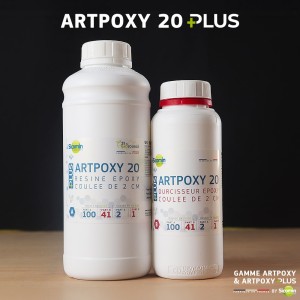
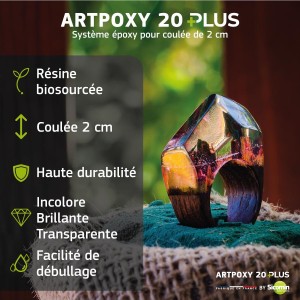
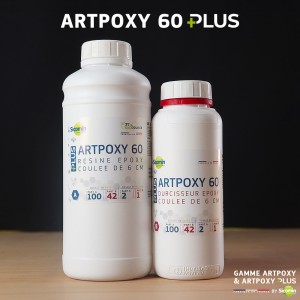
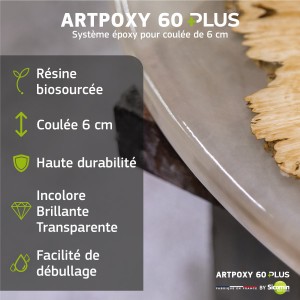
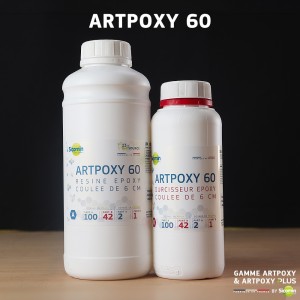
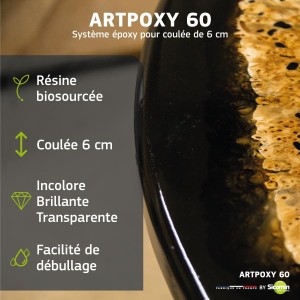
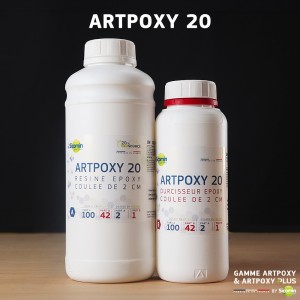
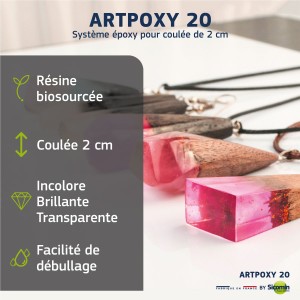
Use high-quality resin suited for inclusions (clear casting resin) to ensure clarity and bubble-free results, such as the ARTPOXY PLUS range.
-
Avoid fresh or partially dried plants, which could darken or develop mold inside the resin.
-
Experiment with compositions: combine moss, petals, and small decorative elements to create miniature scenes.
Get inspired: floral spheres, plant cubes, or functional objects like coasters and paperweights.
Plant-based resin creations captivate for both their originality and durability. Here are a few ideas to explore:
-
Spheres with preserved roses, displayed on a lighted base
-
Resin cubes with moss and natural stones for a zen-inspired décor
-
Keychains or paperweights with included ferns or wildflowers
Where to find your resin for plant-based creations?
At Sicomin Epoxy Resin Shop, you will find a complete range of high-transparency casting resins, ideal for this type of project. Our products are highly praised by creators for their clarity, strength, and ease of use.
➡️ Découvrez notre sélection : Résines époxy de coulée transparentes
Conclusion
Creating a decorative resin terrarium means freezing nature in time while adding a handcrafted touch to your interior décor. With the right materials and a bit of technique, each piece becomes a unique work of art, blending floral artistry with contemporary design.


