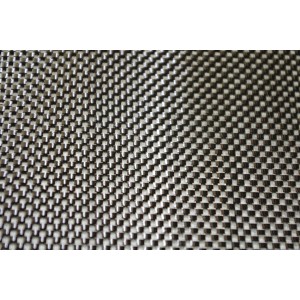
Honeycomb Nomex Carbon Epoxy Ski
1. Sanding and extraction of damaged elements.
The upper skin must be completely removed, a "step" or "scarf" sanding is recommended in the area to be repaired.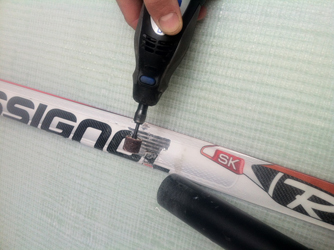

2. Protect and dust the room before preparing the mixtures.
Dust and degrease well if necessary.

3. Preparation of mixtures
Warning: It is necessary to wear nitrile gloves and a mask equipped with a class K cartridge for any handling of EPOXY.
The room must also be ventilated and the MINIMUM temperature must not fall below 15°C.
Mixture dosages (by weight or by volume) must be scrupulously respected.
For this type of mechanically highly stressed part we will use SR 1710 resin with SD 2803 for lamination and the ISOBOND SR1170 system with SD 4072 for densification of the Nida.


4. Prepare the ISOBOND mixture (mix until a homogeneous paste of the same color is obtained)
Apply the isobond in the Nida with a spatula.
5. Mix resin/hardener.
Obtain a homogeneous product without traces
Apply the resin on the fiber cut beforehand as well as on the part (also prepare the vacuum zone: put the seal on a degreased and clean zone, cut and put the tarpaulin on one of the 4 faces and prepare the pump and the vacuum consumables).
6. After stratification, peeltex fabric and infudraint draining agent are applied.
The vacuum pipe must be in contact with the infudraint or the draining felt without sucking resin.

7. Clear the air.
The vacuum tube must be in contact with the infudraint.
Note: it is possible to use feltrex instead of infudraint
8. Allow to polymerize with vacuum.
In order to optimize the characteristics of the epoxy resin, it is recommended to carry out a post-cure following the indications of the Technical Data Sheets.
Areas of application related to this tutorial :


