


Resin table : which type of wood to choose ?
Resin tables, also called river tables, have become in recent years a real decorative element in our interiors worthy of a work of art. The casting of resin introduced into the wood gives us the impression of seeing a river flowing in the middle of the table. Very design and original, this furniture does not leave anyone indifferent!
To make a successful resin table, the type of wood should not be chosen by chance. Indeed, each species has its own characteristics and some are more suitable than others for this kind of project. For example, it is advisable to choose olive wood, maple or hazelnut. The most porous species such as pine for example are not recommended because they will tend to absorb the resin.

Depending on your interior design and your taste, the wood species should also be chosen according to its appearance. Some people will prefer a light colored wood while others will prefer a darker shade. However, it is possible to stain the wood with a specific wood stain afterwards. Finally, the purchase price, the volume and the shape of the wood must also be taken into consideration in your choice of raw material.
What are the different preparation steps for an epoxy resin table?
To successfully create your "river table", it is important to respect each step of its making. Discover what you need to know.
Preparing the wood
Before starting the realization of your table with epoxy resin casting, it is essential to verify that the wood is dry. Make sure that the wood has been cut for more than a year and kept well protected so that there are no unpleasant surprises later on.
Once this verification is done, you can sand the wood to correct the few visible surface defects. Depending on your wishes and the desired design, you can also remove the bark.
Finally, to complete the preparation of the wood and avoid the formation of bubbles later, you can cover the material with a layer of epoxy resin.
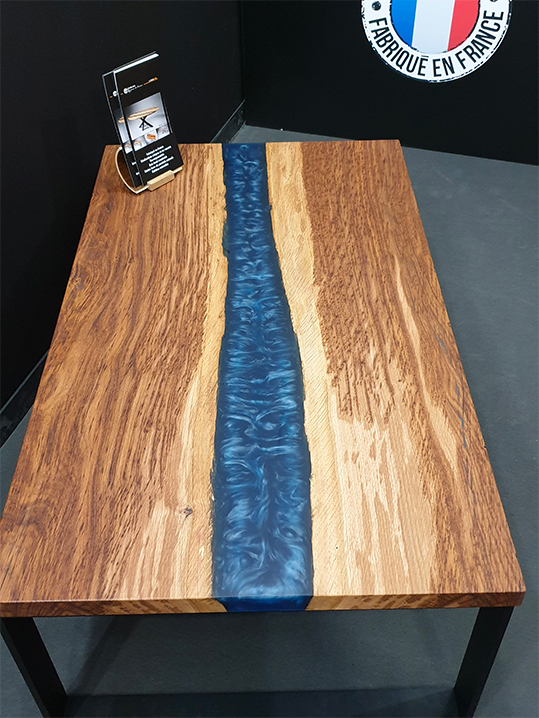


Table Rivières de France - Photo BT Communication Salon Maison&Objet 2020
Preparing the mold
Now that your wood is ready, the second step is to create a mold for the epoxy resin casting to create that much sought after river effect. It is essential that this mold be perfectly watertight to avoid resin leaks. Often made of laminated chipboard, this container must be designed according to the dimensions of your wood piece. To prevent the resin from sticking to the mold, a specific protective film or release agent can be applied to the walls.

Casting the resin
The pouring of the transparent resin is a delicate step. It is important not to pour a large volume of product all at once, but rather to start with a thin layer of one to two centimeters and continue until you have the desired thickness. As the epoxy resin is transparent, you can then add pigments to create this river effect. These pigments must be adapted to the epoxy resin because it does not appreciate water or humidity. Otherwise, our powdered pigments or dyes must be added before casting for a more homogeneous result.
The resin then dries between 24 and 48 hours, but it takes about 14 days for complete hardening.
Good to know: to obtain a successful resin pour, the mixture between the epoxy resin and its hardener must be carefully made by respecting the volumes of components described on the product label. Furthermore, the casting must take place in a room with a temperature between 18 and 24 degrees.
The finishes of the resin table
Once dried and hardened, epoxy resin offers a very shiny aspect close to glass. To obtain an even shinier effect, you can, if you wish, perform an additional sanding.
A project to come ? You have questions about epoxy resin for furniture ?Do not hesitate to contact us via our online form..


