


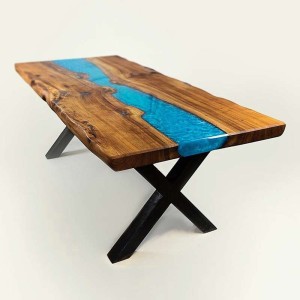


Why are epoxy resin tables so trendy?
Explaining the growing enthusiasm for epoxy resin tables among individuals is easy—there are many reasons to be won over:
-
They are strong and durable: Epoxy resin is extremely strong and impact-resistant, making it an ideal material for furniture subjected to daily use.
-
They are easy to maintain: Simply wipe them with a damp cloth to clean them.
-
They are aesthetic: Epoxy resin can be colored in many different ways, allowing the creation of tables in all colors and styles. You can even embed objects or reclaimed materials into the table to give it a unique and original look.
-
They are versatile: Epoxy tables can be used in all kinds of rooms—from the living room and dining room to the kitchen and bedroom. They suit both modern, design interiors and more traditional spaces.
In short, epoxy tables are trendy because they are strong, easy to maintain, visually appealing, and versatile.
Steps to create an epoxy resin table
-
Prepare the base:
Choose a solid and smooth support for your table. You can use a wooden, glass, or metal top, or an MDF board. Be sure to sand and clean the surface before starting. -
Mix the epoxy resin:
Follow the manufacturer’s instructions to mix the epoxy resin and hardener. Use an electric mixer to ensure a homogeneous blend. -
Add pigments or effects:
If you want to add color or visual effects, this is the right time. You can use powder pigments or resin dyes, or incorporate objects or reclaimed materials into the resin. -
Apply the resin:
Pour the resin onto the surface and spread it using a spatula or a brush. Use an infrared lamp or a hair dryer to speed up curing. -
Sand and polish:
Once the resin is fully cured, sand it with fine-grit sandpaper to smooth the surface. You can also use a polish or wax to achieve a glossy finish. -
Apply a finish:
To protect your table and give it a professional look, apply a clear varnish.
It is important to follow the epoxy resin manufacturer’s instructions and observe all safety precautions. If you are not accustomed to working with these materials, seeking help or advice from a professional is recommended.
11 ideas for creating an original epoxy resin table
-
Use an unusual table base, such as an old skateboard, a bicycle frame, or an ironing board.
-
Add unique decorative elements to the tabletop, such as shells, stones, or dried flowers.
-
Use colored pigments to create complex patterns and designs in the epoxy surface; brushes or stencils can help achieve precise results.
-
Create a sense of movement by layering different colors and playing with light reflections.
-
Add lighting elements such as LEDs or neon lights for a luminous effect.
-
Use transparent or translucent objects in the top epoxy layer to create depth and texture.
-
Incorporate reclaimed materials like glass, metal, wood, or stone for a unique, original look.
-
Cover the table with a glass panel to enhance depth; you can also use a silicone mold to create shapes and reliefs in the epoxy resin.
-
Experiment with different shades and textures to create marble, granite, wood, or stone effects.
-
Add metallic elements for an industrial or futuristic style.
-
Use recycled or eco-friendly materials to give your table an ethical and sustainable dimension.
Products recommended by Sicomin for making an epoxy resin table
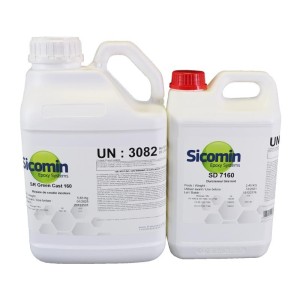
Resins:
-
SR GREENCAST 160 / SD 7160
-
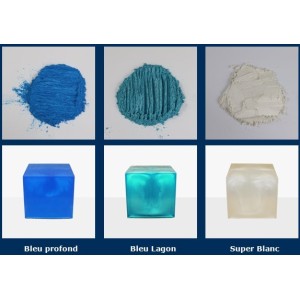
SC Clear Color (for coloring)
-
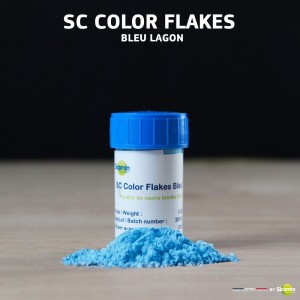
SC Color Flakes (glitter / pearlescent effects)
Protective equipment:
-
Nitrile gloves
-
Safety glasses
Accessories:
-
Mixing sticks
-
Bucket
-
For the mold: FK 1000P wax / FK 89
We hope these ideas help you create an original and unique epoxy resin table. There are countless possibilities for designing a personalized epoxy table—don’t hesitate to be creative and try new things!


