As you’ve probably realized, thanks to its many advantages, epoxy resin offers countless creative possibilities! How do you use it? What can you make with it? Follow the guide to learn everything about this resin!
How to use epoxy resin
Choosing the right hardener (based on its reactivity) is essential, depending on the work you need to do. For each product category, you will find the ratios to follow according to your application (for example, 100 grams of resin to 60 grams of hardener). These quantity guidelines may vary from one product reference to another. Depending on your projects, you may also need colorants. Once you have your products, before working with the resin, it is essential to equip yourself with gloves, a mask, and safety glasses for protection.
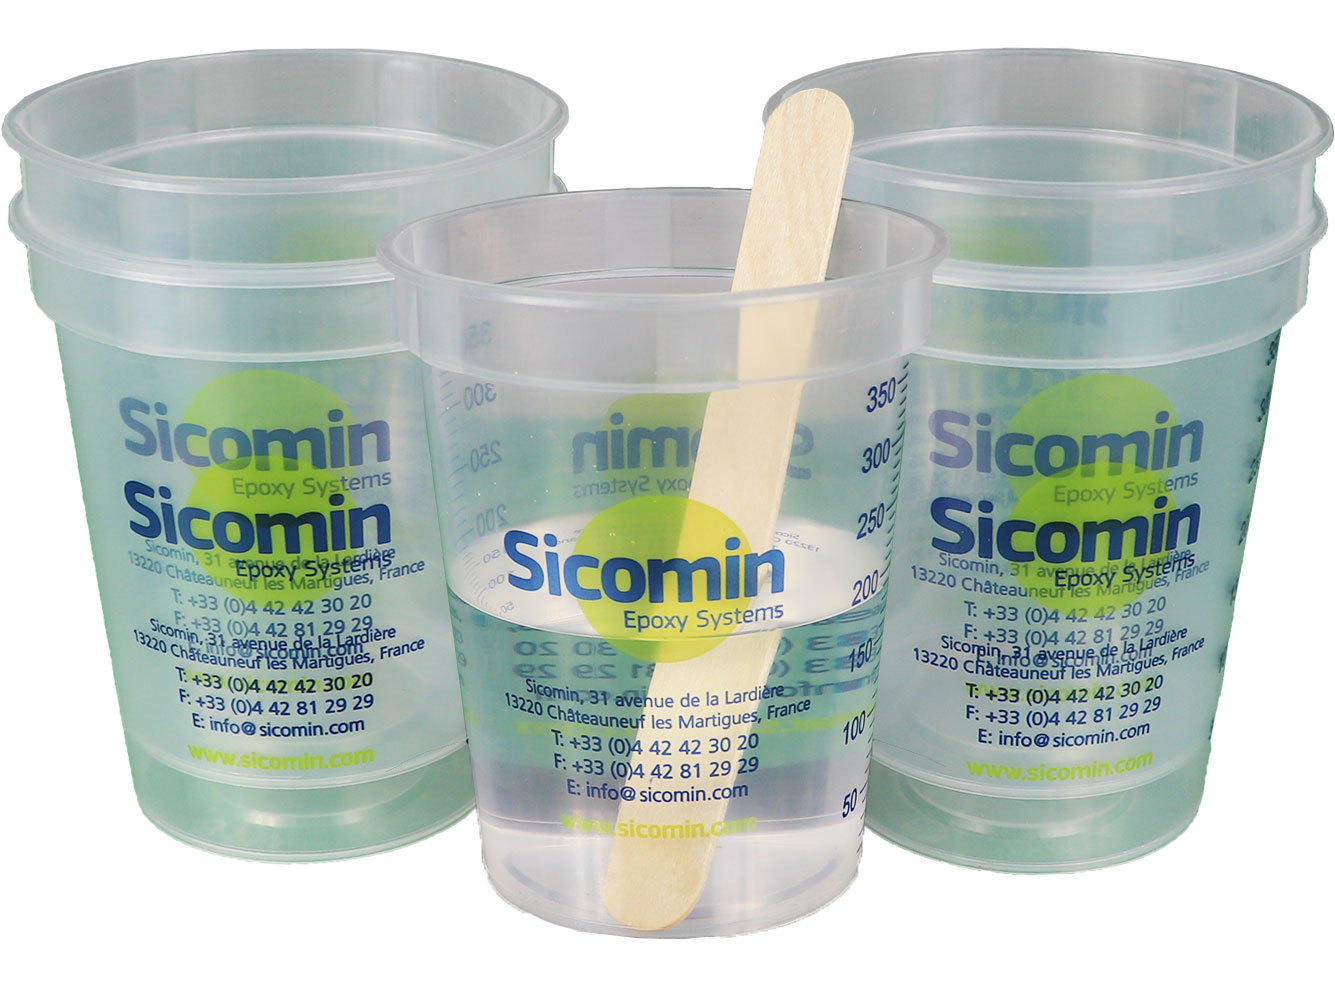
The mixture must then be measured as precisely as possible using an electronic scale or Sicomin measuring cups. The two components must be mixed for at least 2 to 3 minutes to ensure a homogeneous blend.
For an aesthetic result, the resin must be as transparent as possible. To achieve this, make sure to work in a dry environment, as humidity affects the transparency of epoxy resin.
To ensure a beautiful finish, you can apply a varnish to enhance the resin’s shine. Two to three coats may be necessary for a glossy and durable result, or alternatively a single coat of Top Clear.
Good to know: if bubbles appear on the surface of your resin, you can pass a heat source (a flame or a heat gun) over it to make them burst and restore a smooth, level surface.
Epoxy resin: what can it be used for?
Now that epoxy resin holds no more secrets for you, it’s time to let your imagination run free! Lacking inspiration? Here are a few ideas.
-
Using epoxy resin for floor coatings.
As mentioned earlier, epoxy resin is naturally insulating. It therefore makes an excellent floor coating: easy to maintain, durable, and aesthetically pleasing. Moreover, thanks to endless color possibilities, you can give it a fully customized look.
-
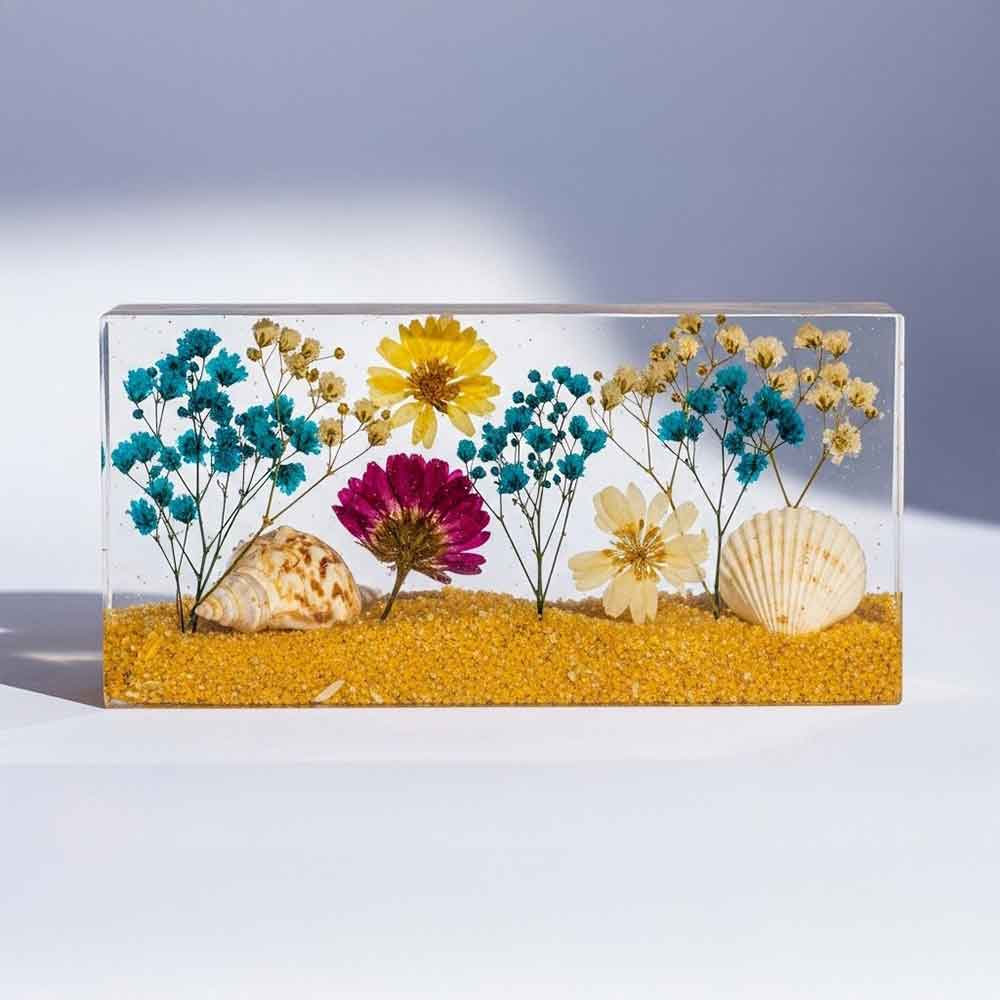
Using epoxy resin to make jewelry.
Do you have an artistic soul and a passion for fashion? You’ll love making your own jewelry! Easily moldable and highly customizable, epoxy resin gives you the opportunity to create truly unique pieces.
-
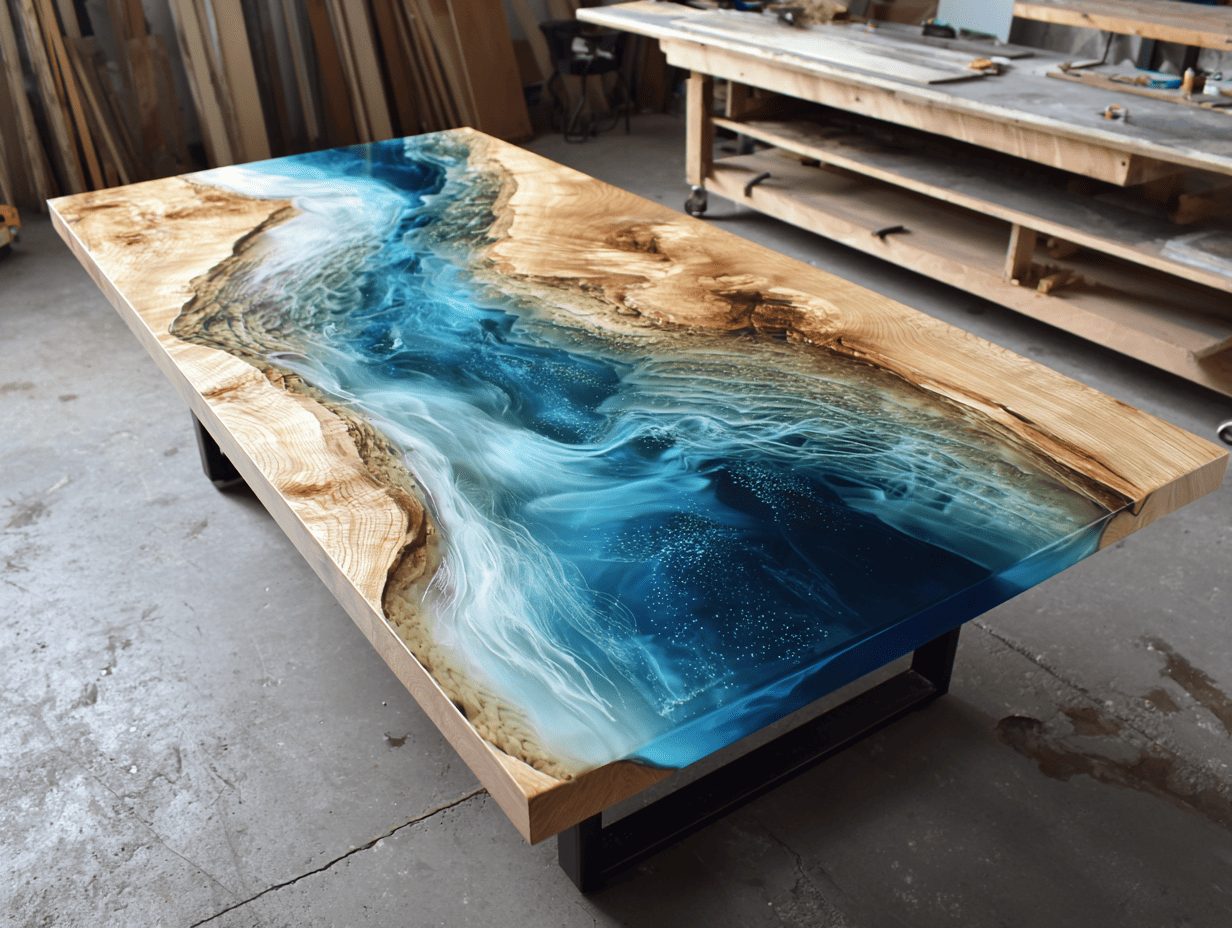
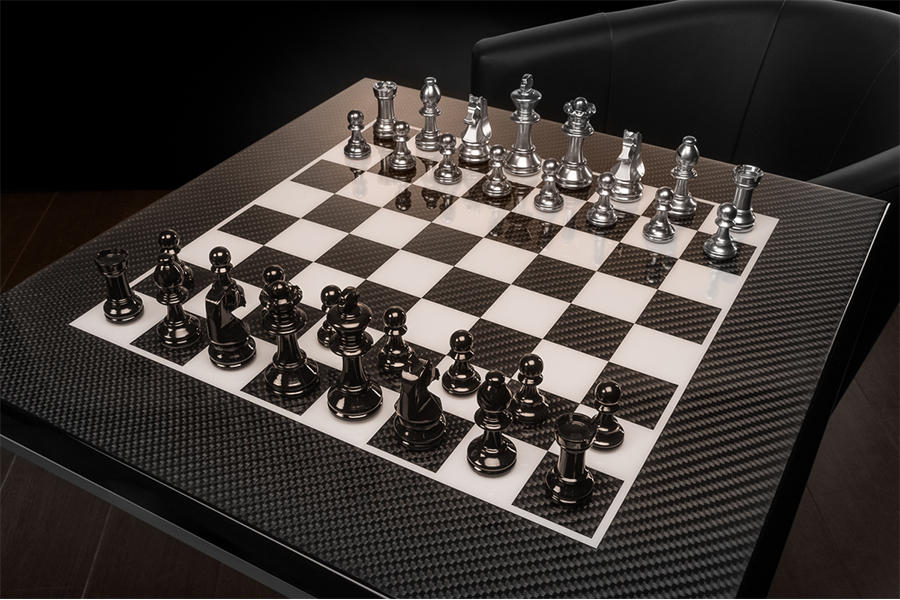
Using epoxy resin to make furniture.
Resin furniture is becoming increasingly trendy and often featured on the front pages of interior design magazines. Whether entirely made of resin or simply incorporating it, your furniture will definitely stand out and impress your guests.
The bio-based carbon content of our raw materials is certified. In addition, our finished products are analyzed using carbon-14 dating to determine the proportion of bio-based carbon they contain. These measurements are carried out by an independent third-party laboratory.
No, always use the resin and the hardener from the same system only. Our formulations are designed to be mixed together. If you do not use matching systems, you risk ruining both your mixture and your project.
It is important not to choose a hardener that is too fast. If it is not applied within the allotted time, it will cure in the mixing container and generate a high exothermic temperature.
Therefore, when using fast systems, it is better to prepare several small batches progressively as the work advances.
On the other hand, using a slow hardener will increase the curing time of your project. In this case, it is preferable to choose a slightly faster hardener. This is often the case in winter, when low temperatures tend to slow down curing systems.
The working time (pot life) must be longer than the estimated application time.
Warning! Unlike polyester resin, achieving a successful epoxy resin mix requires precise dosing.
The dosing of a mixture can be done in two different ways: by weight or by volume.
By weight
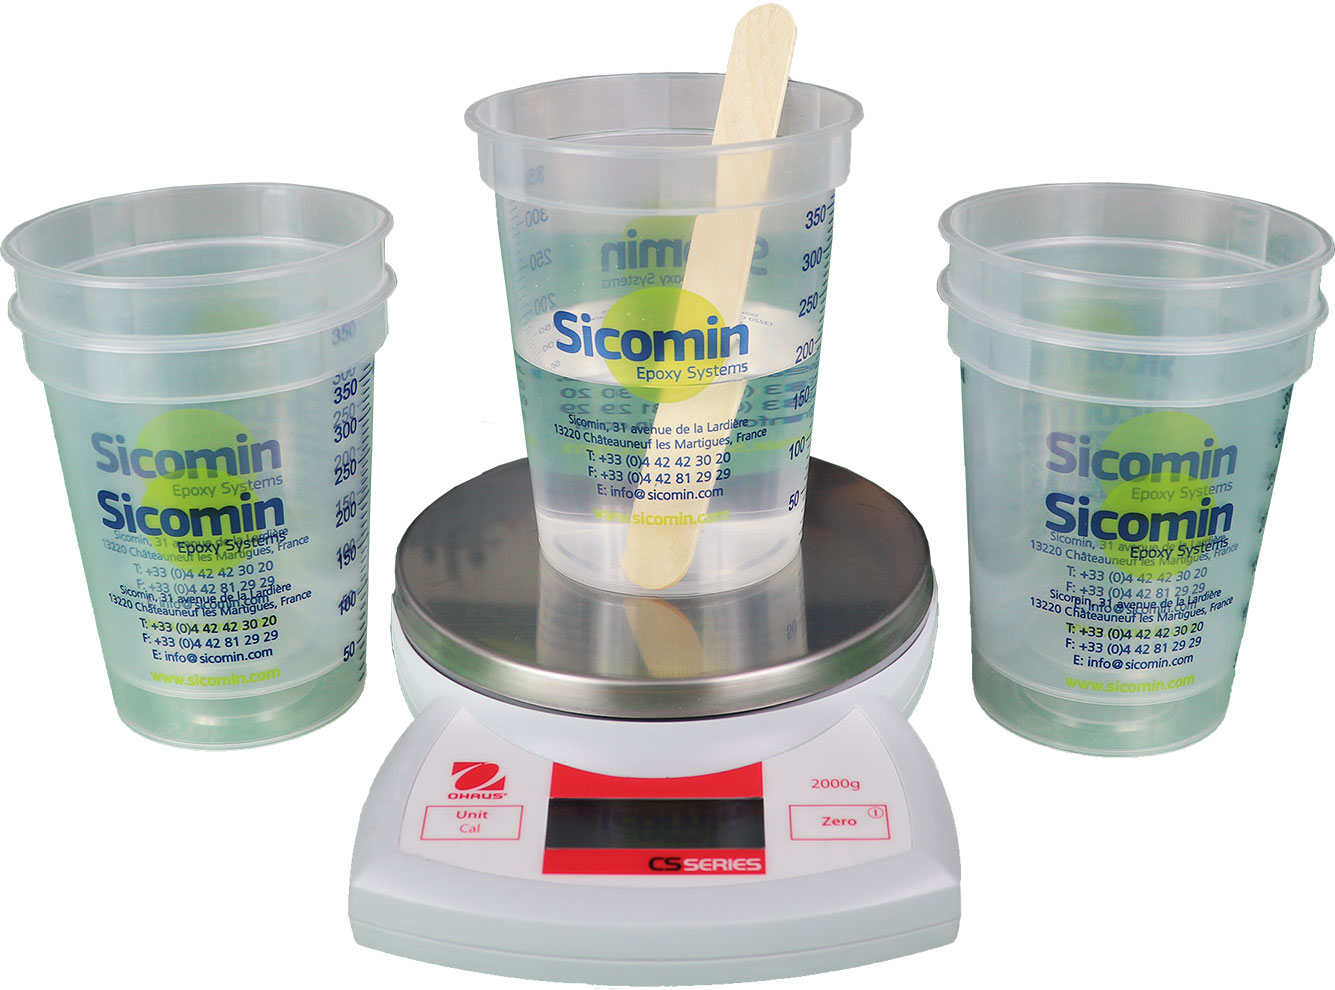
To prepare a weight-based mixture, you will need an electronic scale with accuracy suited to the amount being weighed. First, place the empty mixing cup on the electronic scale and tare it. Then pour the required amount of resin into the graduated cup. In this example, we will use 100 g as the weighed amount of resin.
Use the mixing ratio indicated on the product containers or on the product’s technical data sheet. In this example, the mixing ratio is 100/42.
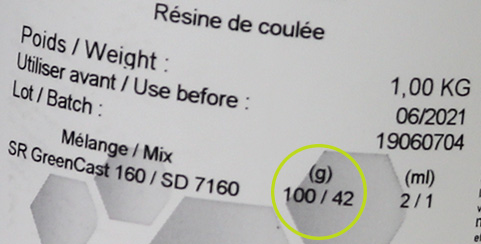
Calculation example:
Given that the resin quantity is 100 g, we must perform the following calculation to determine the amount of hardener to add to the mixture.
Calculation:
100 (resin quantity) × 1.42 (mixing ratio: 1 + 42/100) = 142 (total quantity).
According to this calculation, the total quantity of the mixture will be 142 g.
By volume
As for volume-based mixing, you will only need a graduated measuring cup. First, pour the required amount of resin into the cup. In this example, we will use 100 ml.
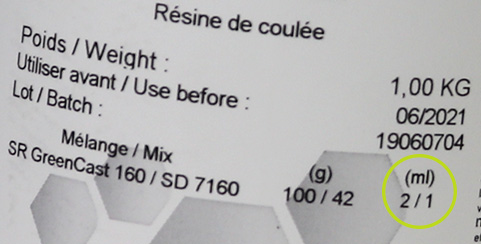
Use the mixing ratio indicated on the product labels or on the product’s technical data sheet. In this example, the volumetric mixing ratio is 2:1.
Calculation example:
Given that the resin quantity is 100 ml, we must perform the following calculation to determine the amount of hardener to add to the mixture.
Calculation for a 2:1 volumetric ratio:
Resin: 2 × 50 ml = 100 ml
Hardener: 1 × 50 ml = 50 ml
According to this calculation, the amount of hardener to pour is 50 ml.
Versatile and easy to apply, epoxy resin helps repair, fix, bond, and create a wide variety of projects. Whether you want to make furniture or jewelry, epoxy resin allows you to express your creativity—provided you know how to use it properly. Epoxy resin is made up of a base resin and a hardener, and for a successful result, it is essential to respect the correct mixing ratio between the two components. Do you have a project in mind for which epoxy resin would be ideal? Follow our guide to ensure success every time!
A bio-based product is a product made entirely or partially from renewable resources (biomass), as opposed to petroleum-based products derived from fossil materials (oil). Our bio-based products are formulated with no compromise in performance compared to their petroleum-based equivalents.
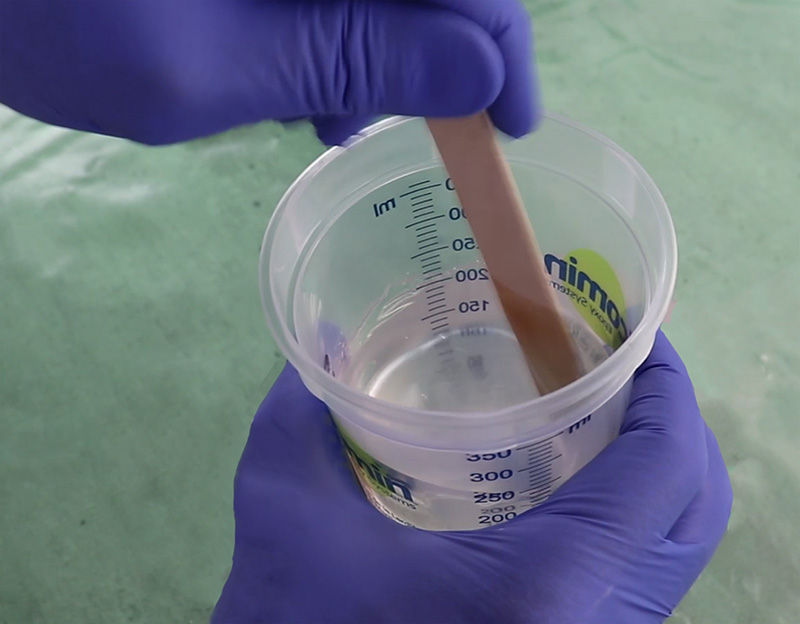
Mix the resin for about 2–3 minutes. The mixing should be done slowly, scraping the sides and the bottom of the cup. It is recommended to mix using a figure-eight motion. This step is very important. If it is not done correctly:
-
The mixture will not be homogeneous
-
There is a risk of optical defects
-
There is a risk of surface defects (sticky areas, waves, etc.)
Warning: if your resin and hardener have a very large difference in viscosity, you must mix very slowly to limit the risk of splashing.
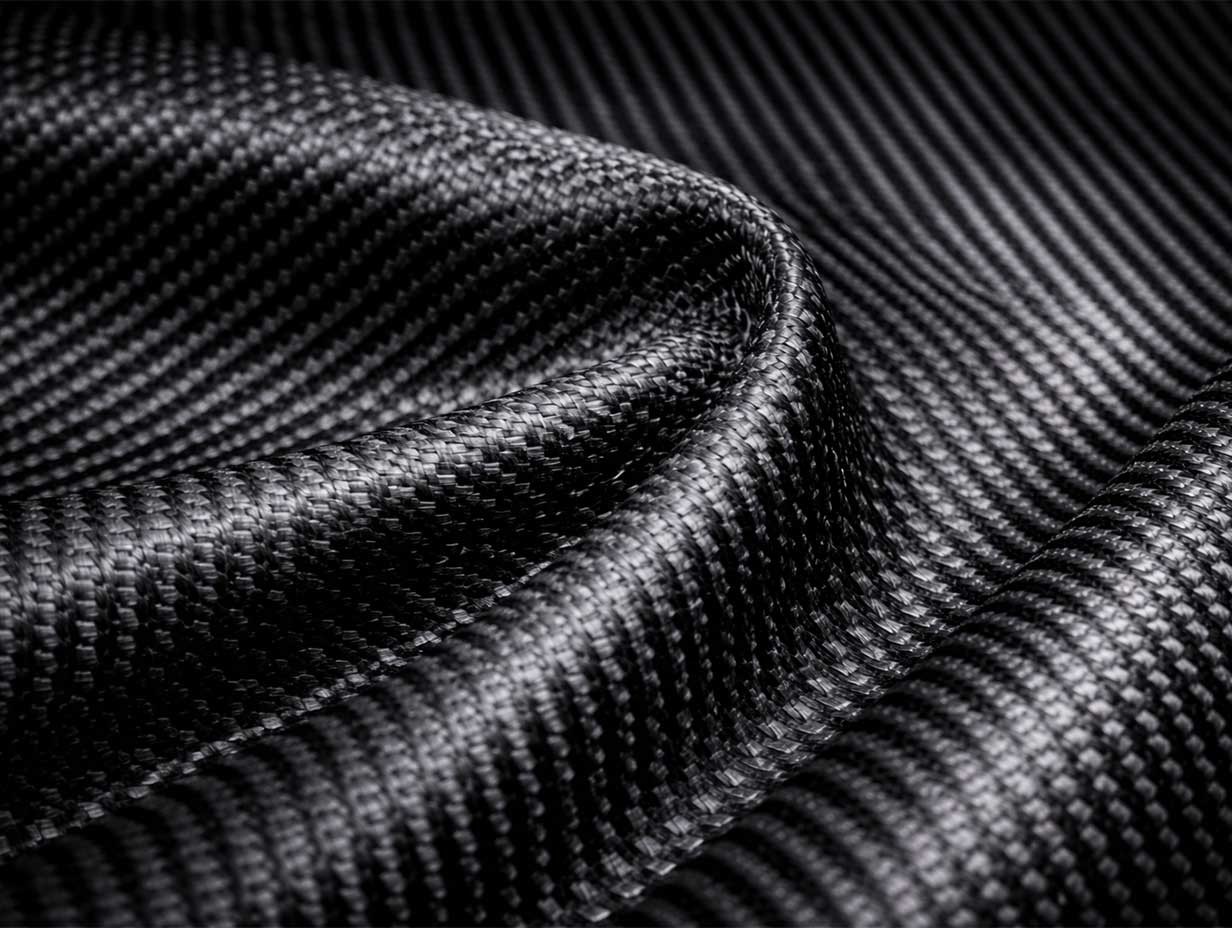
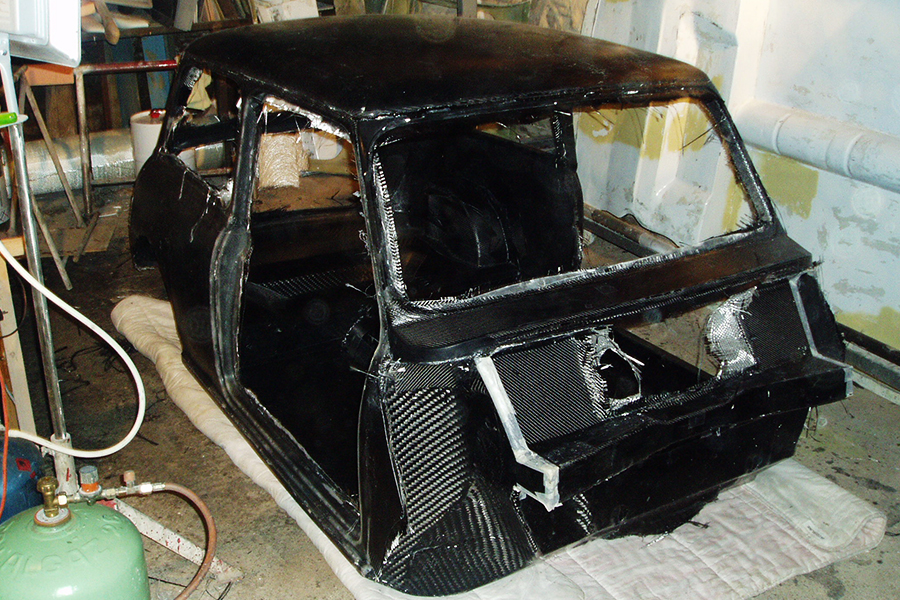
To achieve proper lamination with a fabric (glass, carbon, flax, aramid), it is important to follow the correct application sequence in order to ensure good fibre impregnation and avoid the formation of air bubbles.
The first step is to apply a thin layer of resin directly onto the substrate (wood, foam, metal, composite, etc.). This layer prepares the surface and improves the adhesion of the fabric.
Next, place the dry fabric onto this first layer of resin. The resin already present on the substrate helps hold the fabric in place and facilitates its impregnation.
Once the fabric is properly positioned, apply another layer of resin on top using a brush, roller, or spatula. The goal is to fully impregnate the fibres until the fabric becomes translucent (in the case of glass or flax) or uniformly saturated.
After applying the resin, it is recommended to perform air removal using a laminating roller (bubble roller). This step helps remove trapped air within the fibres and ensures a uniform and strong laminate.
If multiple layers of fabric are required, simply repeat the same process:
resin → fabric → resin → air removal.
Following this sequence ensures optimal fibre impregnation, good bonding between layers, and maximum mechanical performance of the final composite.
Yes, all epoxy systems can show slight yellowing over time. This phenomenon is natural and depends on several factors, including UV exposure, the resin formulation, and usage conditions.
High-quality epoxy systems, however, incorporate anti-UV additives that significantly slow down this yellowing, especially for indoor applications or those with limited sun exposure.
For optimal protection and improved long-term durability, it is recommended to apply a high-UV-resistance finishing varnish, such as SR TOP CLEAR 1054 from Sicomin. This transparent system provides excellent UV protection while preserving the aesthetics and transparency of resin parts. It is also formulated without CMR components, helping to improve user safety and comfort.
 Guides & Tips
 Your achievements